使用 AI 设计 api 模式
APIGit
2023-05-05
 explorer api design schema with AI
使用 ChatGPT 设计 Api 架构
了解 OpenAPI 3.0 中的模式
在 OpenAPI 3.0 中,架构用于定义 API 请求或响应负载的数据结构。它是一种描述所传输信息的预期格式和数据类型的方法。
模式是使用 JSON 模式定义的,它是描述 JSON 数据的结构和验证规则的标准。 OpenAPI 3.0 规范包括 JSON Schema 的扩展子集,它提供了特定于 API 文档的附加功能,例如描述响应代码和标头的能力。
模式定义可以包含在 OpenAPI 文档中components 部分,它可以被文档的其他部分引用。可以为请求或响应正文、请求或响应标头或参数定义架构。
可以在模式中定义的一些属性包括:
type:属性的数据类型,如string,integer,boolean, 或者array.
format:数据类型的格式,例如date-time 对于时间戳或email 一个电子邮件地址。
properties:对象的属性及其对应模式的列表。
items:数组中每个项目的模式。
required:对象所需属性的列表。
enum:属性的可能值列表。
通过在 OpenAPI 3.0 中定义模式,API 开发人员可以确保他们的 API 得到充分记录,并且客户可以轻松理解所传输信息的预期格式和数据类型。
Apigit Api 设计中的模式
导航API Specification 在您的存储库下并选择一个示例规范文件,在默认视图模式下,单击侧边栏左下角的✏️图标。
首先,选择一个示例架构,例如User.选择模式后,您可以在表单视图和代码视图之间切换。让我们使用User 以schema为例,其中有六个字段需要设计。虽然看起来很简单,但 ChatGPT 和 Apigit 的导入工具可以帮助进一步简化流程。
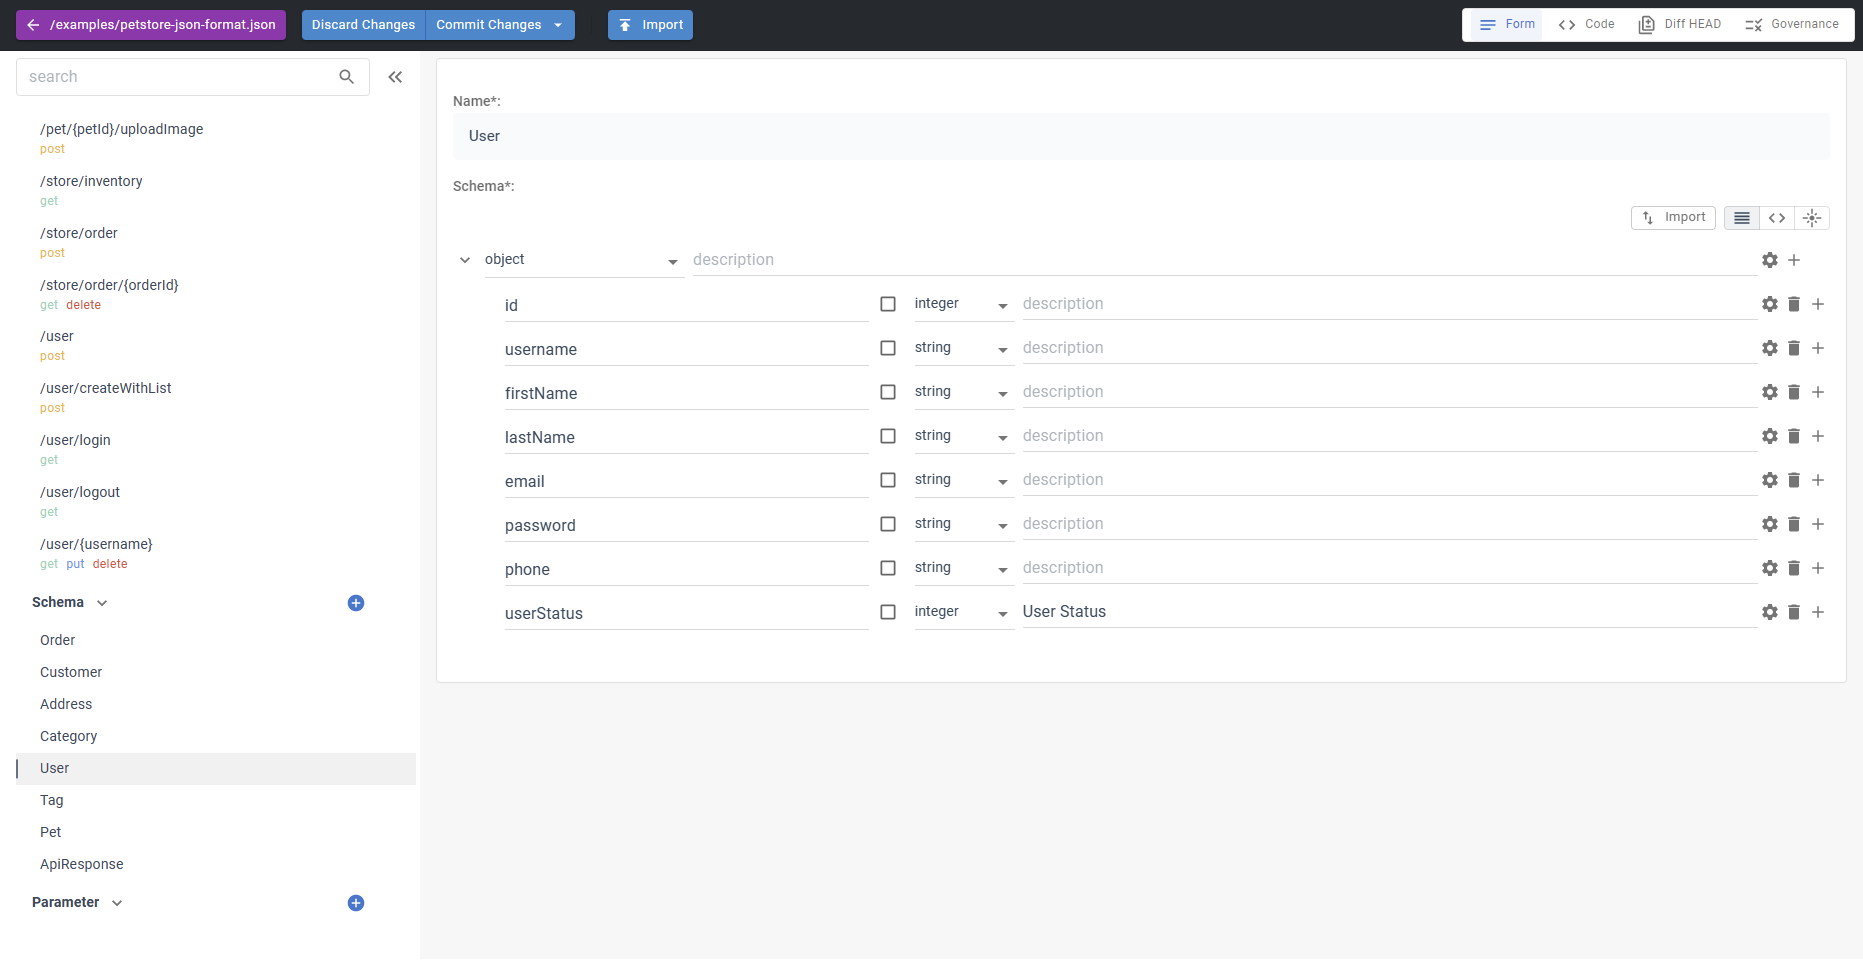 Schemas in Apigit Api design
Apigit 导入 ChatGTP 的结果
您只需要为您的对象生成样本数据。
{
  "id": 10,
  "username": "theUser",
  "firstName": "John",
  "lastName": "James",
  "email": "john@email.com",
  "password": "12345",
  "phone": "12345",
  "userStatus": 1
}
然后要求 ChatGTP 提供您的模式数据。
 Schemas generated by ChatGTPChatGTP 生成的模式
你会得到如下。
{
    "$schema": "http://json-schema.org/draft-07/schema#",
        "title": "User",
        "type": "object",
        "properties": {
        "id": {
            "type": "integer",
                "description": "The ID of the user",
                "example": 10
        },
        "username": {
            "type": "string",
                "description": "The username of the user",
                "example": "theUser"
        },
        "firstName": {
            "type": "string",
                "description": "The first name of the user",
                "example": "John"
        },
        "lastName": {
            "type": "string",
                "description": "The last name of the user",
                "example": "James"
        },
        "email": {
            "type": "string",
                "format": "email",
                "description": "The email address of the user",
                "example": "john@email.com"
        },
        "password": {
            "type": "string",
                "description": "The password of the user",
                "example": "12345"
        },
        "phone": {
            "type": "string",
                "description": "The phone number of the user",
                "example": "12345"
        },
        "userStatus": {
            "type": "integer",
                "description": "The status of the user",
                "example": 1
        }
    },
    "required": ["id", "username", "firstName", "lastName", "email", "password", "phone", "userStatus"]
}
要导入 ChatGPT 生成的 JSON SCHEMA,请按照以下步骤操作:
- 点击
import按钮。 - 选择
JSON SCHEMA从选项。 - 将 ChatGPT 生成的代码粘贴到文本字段中。
- 点击
OK或者Import导入架构。
通过执行这些步骤,您可以确保您的 JSON 架构准确并满足您的需求。
- 仔细检查模式并检查是否有任何错误或不一致。
- 对架构进行任何必要的更改以更正错误或添加缺失的信息。