使用 AI 設計 api 模式
APIGit
2023-05-05
 explorer api design schema with AI
使用 ChatGPT 設計 Api 模式
了解 OpenAPI 3.0 中的模式
在 OpenAPI 3.0 中,架構用於定義 API 請求或響應負載的數據結構。它是一種描述所傳輸信息的預期格式和數據類型的方法。
模式是使用 JSON 模式定義的,它是描述 JSON 數據的結構和驗證規則的標準。 OpenAPI 3.0 規範包括 JSON Schema 的擴展子集,它提供了特定於 API 文檔的附加功能,例如描述響應代碼和標頭的能力。
模式定義可以包含在 OpenAPI 文檔中components 部分,它可以被文檔的其他部分引用。可以為請求或響應正文、請求或響應標頭或參數定義模式。
可以在模式中定義的一些屬性包括:
type:屬性的數據類型,如string,integer,boolean, 或者array.
format:數據類型的格式,例如date-time 對於時間戳或email 一個電子郵件地址。
properties:對象的屬性及其對應模式的列表。
items:數組中每個項目的架構。
required:對象所需屬性的列表。
enum:屬性的可能值列表。
通過在 OpenAPI 3.0 中定義模式,API 開發人員可以確保他們的 API 得到充分記錄,並且客戶可以輕鬆理解所傳輸信息的預期格式和數據類型。
Apigit Api 設計中的模式
導航API Specification 在您的存儲庫下並選擇一個示例規範文件,在默認視圖模式下,單擊側邊欄左下角的✏️圖標。
首先,選擇一個示例架構,例如User.選擇架構後,您可以在表單視圖和代碼視圖之間切換。讓我們使用User 以schema為例,其中有六個字段需要設計。雖然看起來很簡單,但 ChatGPT 和 Apigit 的導入工具可以幫助進一步簡化流程。
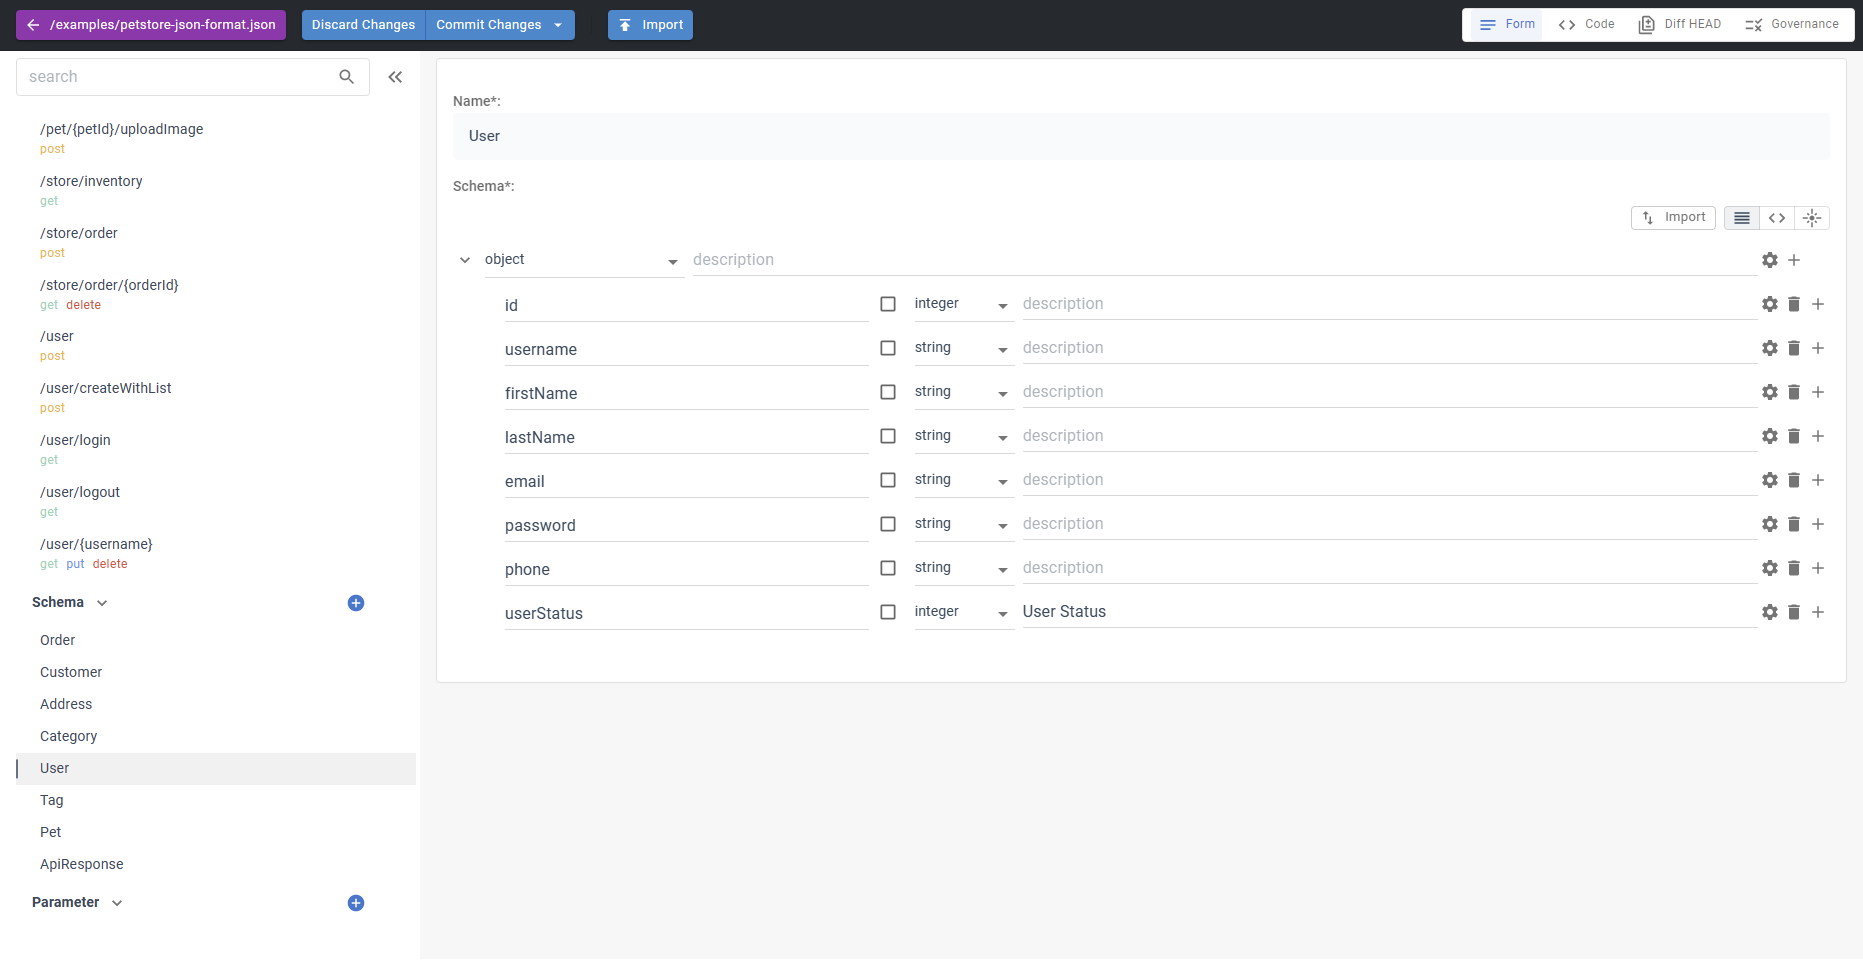 Schemas in Apigit Api design
Apigit 導入 ChatGTP 的結果
您只需要為您的對像生成樣本數據。
{
  "id": 10,
  "username": "theUser",
  "firstName": "John",
  "lastName": "James",
  "email": "john@email.com",
  "password": "12345",
  "phone": "12345",
  "userStatus": 1
}
然後要求 ChatGTP 提供您的模式數據。
 Schemas generated by ChatGTPChatGTP 生成的模式
你會得到如下。
{
    "$schema": "http://json-schema.org/draft-07/schema#",
        "title": "User",
        "type": "object",
        "properties": {
        "id": {
            "type": "integer",
                "description": "The ID of the user",
                "example": 10
        },
        "username": {
            "type": "string",
                "description": "The username of the user",
                "example": "theUser"
        },
        "firstName": {
            "type": "string",
                "description": "The first name of the user",
                "example": "John"
        },
        "lastName": {
            "type": "string",
                "description": "The last name of the user",
                "example": "James"
        },
        "email": {
            "type": "string",
                "format": "email",
                "description": "The email address of the user",
                "example": "john@email.com"
        },
        "password": {
            "type": "string",
                "description": "The password of the user",
                "example": "12345"
        },
        "phone": {
            "type": "string",
                "description": "The phone number of the user",
                "example": "12345"
        },
        "userStatus": {
            "type": "integer",
                "description": "The status of the user",
                "example": 1
        }
    },
    "required": ["id", "username", "firstName", "lastName", "email", "password", "phone", "userStatus"]
}
要導入 ChatGPT 生成的 JSON SCHEMA,請按照以下步驟操作:
- 點擊
import按鈕。 - 選擇
JSON SCHEMA從選項。 - 將 ChatGPT 生成的代碼粘貼到文本字段中。
- 點擊
OK或者Import導入架構。
通過執行這些步驟,您可以確保您的 JSON 架構準確並滿足您的需求。
- 仔細檢查模式並檢查是否有任何錯誤或不一致。
- 對架構進行任何必要的更改以更正錯誤或添加缺失的信息。