A visual editor for Markdown that keeps your Git history clean
The guides around an API are written by more people than the API itself: support engineers, product managers, technical writers, the developer who just fixed the bug the page is about. Many of them do not want to write Markdown, and those who do still do not enjoy typing the syntax of a table or of a tabbed code sample. From today, a Markdown file in APIGit opens in a visual editor. You write the page as it will look, and the file in Git stays the clean Markdown it was.
Write the page, not the syntax
Open a Markdown file, click the pencil, and the page is editable as it is rendered: headings look like headings, a callout is a callout, a table is a table. The Visual tab is the default; Code shows the same file as Markdown, and the editor remembers which of the two you used last.
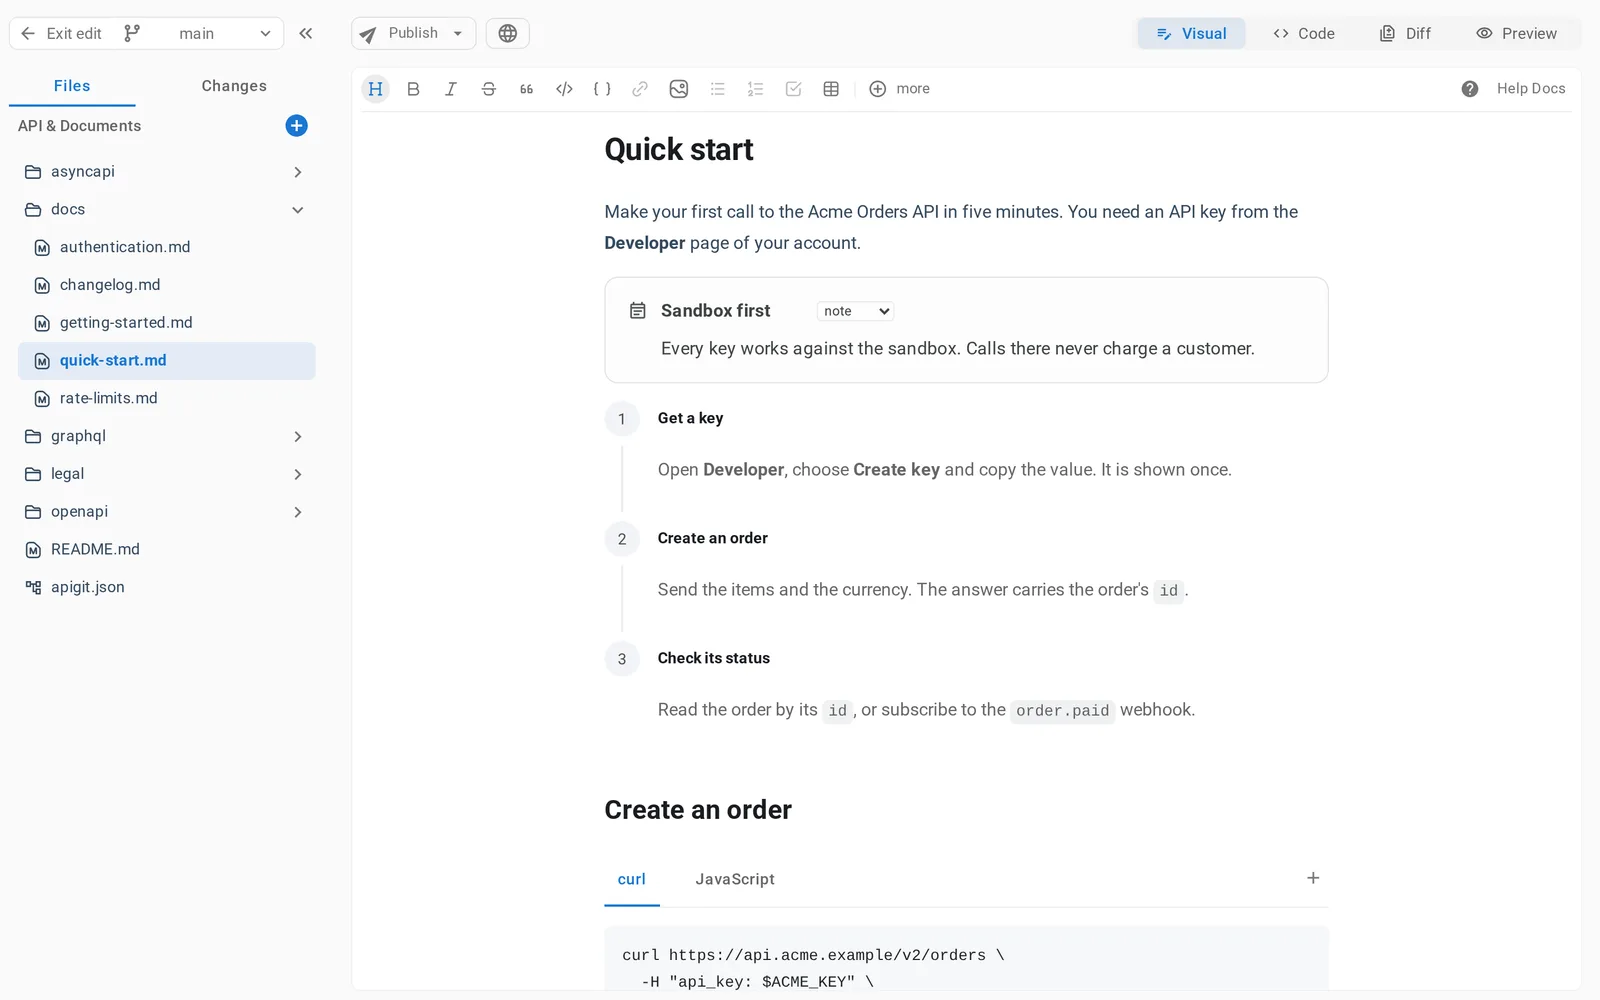
Both tabs have the same toolbar, in the same order, so nothing has to be learned twice. Select some text and a small bar offers bold, italic, strikethrough, inline code and a link.
Type / for everything else
On an empty line, type /. A menu lists every block you can insert, 64 of them in seven groups, each with a small preview: headings, lists, tables, code blocks, images, callouts, steps, tabs, cards, accordions, code groups, columns and more. Type a few letters to filter, press Enter, and the block is there.
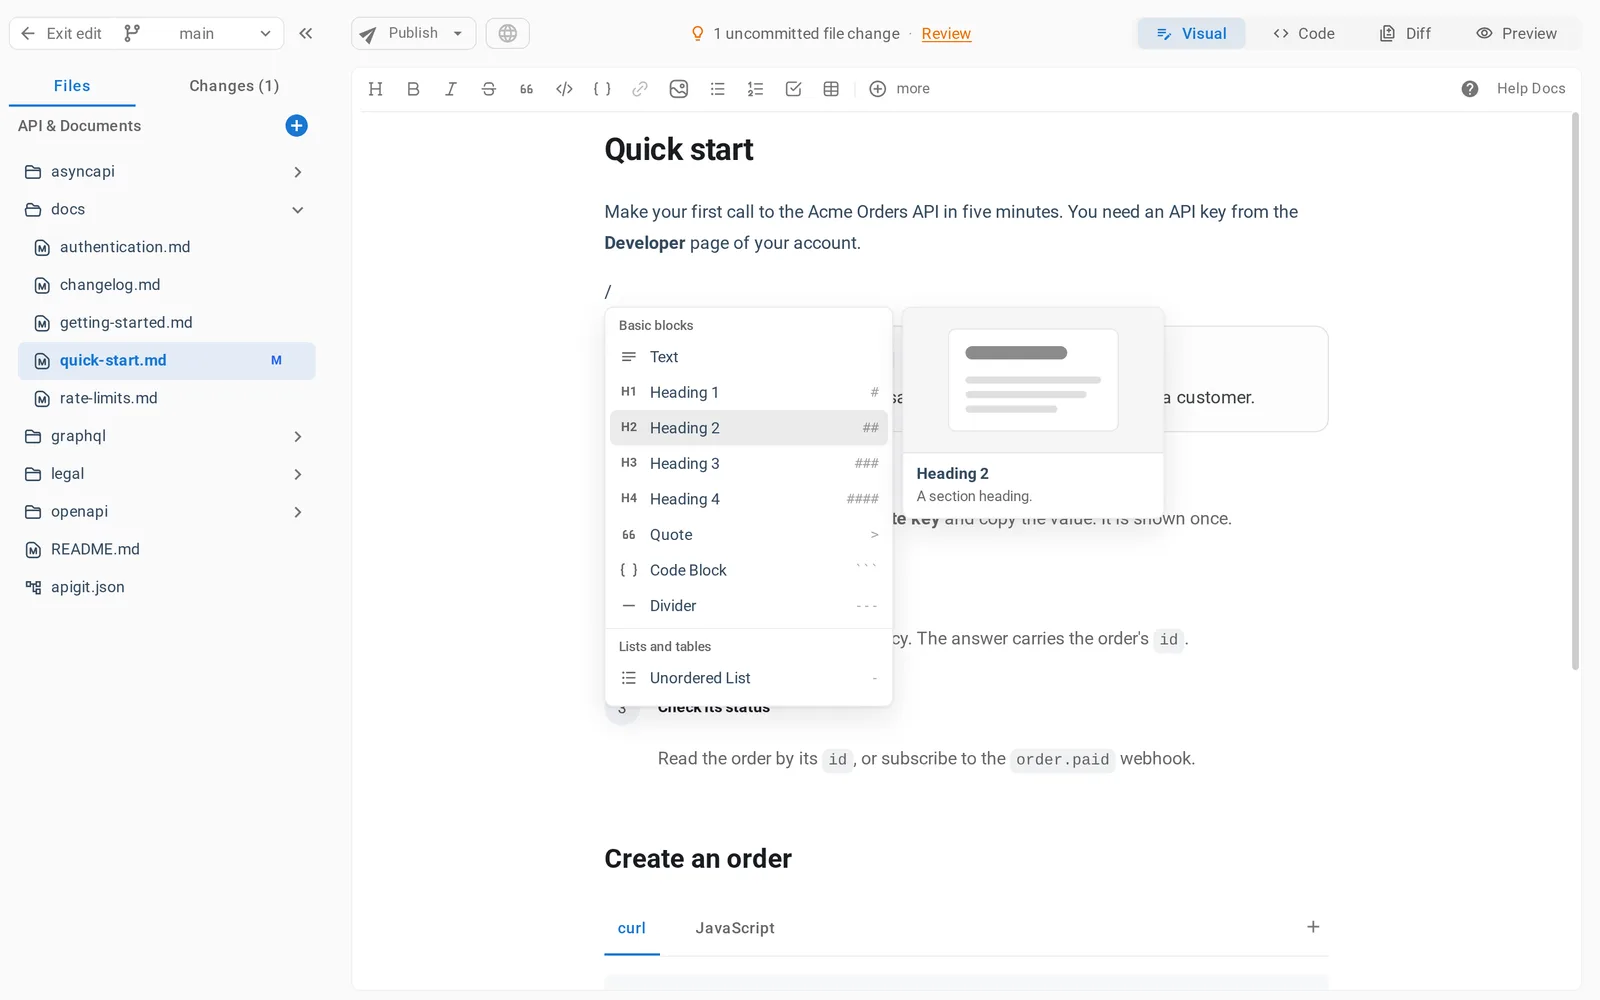
The documentation components are the reason this matters. Steps, Tabs or a CodeGroup are a few lines of tags that are easy to get wrong by hand. In the visual editor they are boxes you type into: add a tab, name it, write its content.
Move things around
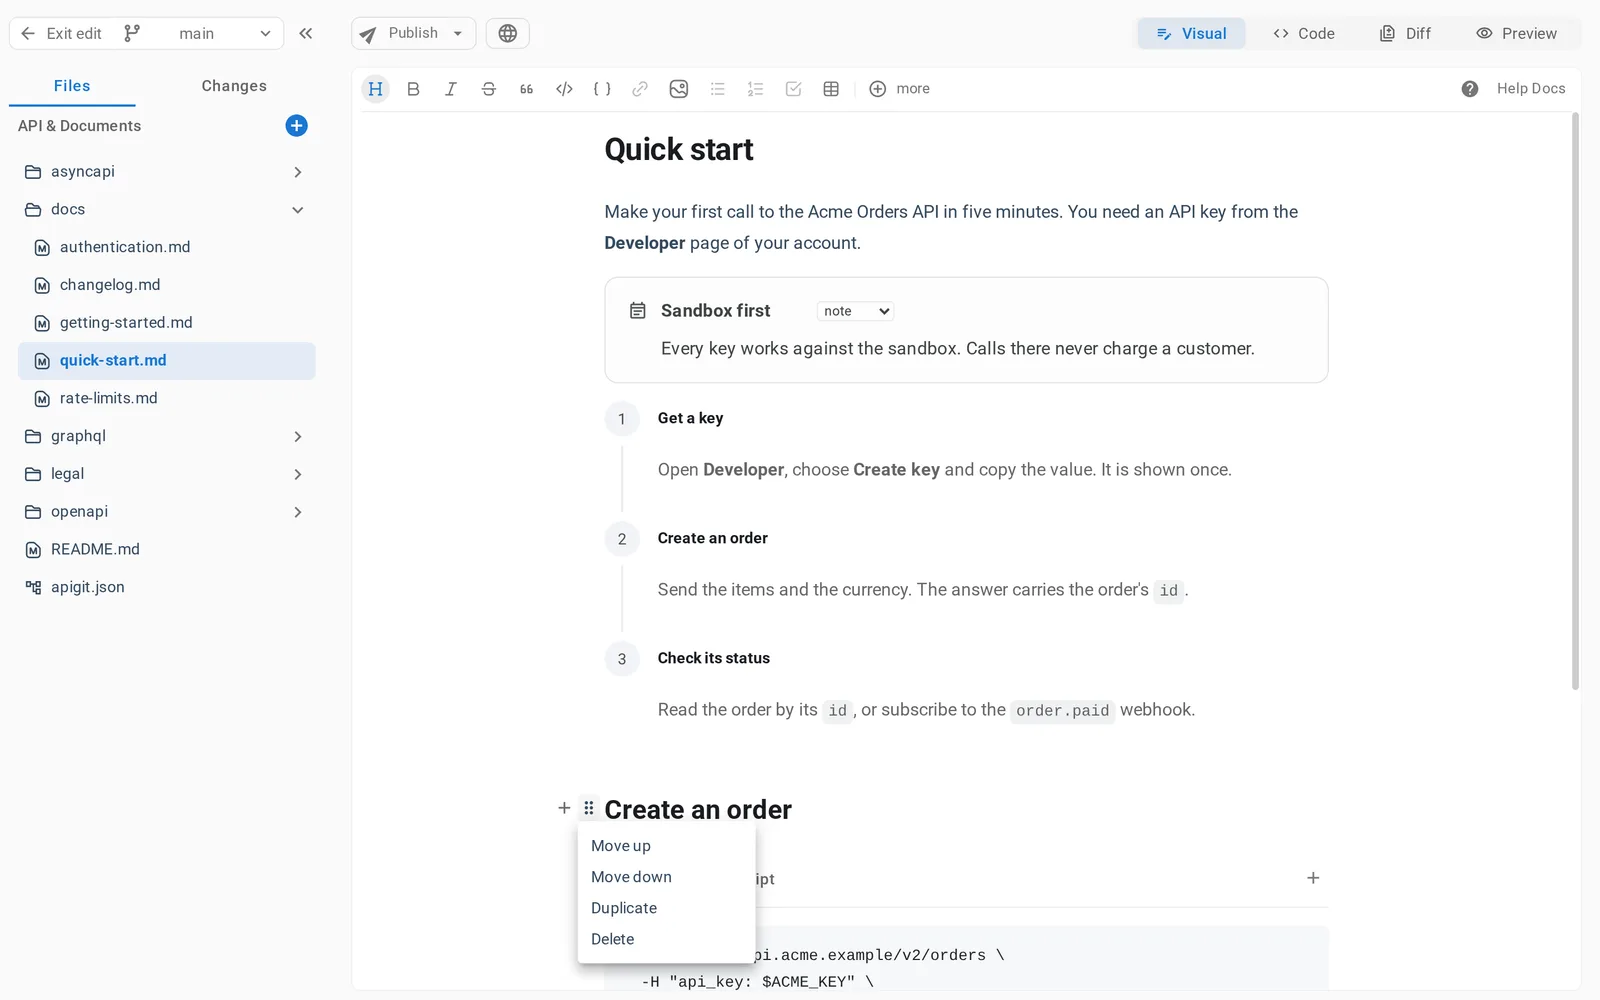
Every block has a handle at its left when you point at it.
- Drag the grip to move the block.
- Click the grip for a menu: move up, move down, duplicate, delete.
+beside it adds an empty block below, where/opens the menu again.- From the keyboard:
Alt+↑or↓moves the block the caret is in, andCtrl+/(Cmd+/on a Mac) opens its menu.
Tables get their own bar when the caret is in one: add or delete rows and columns, move a row, set a column's alignment.
Paste a screenshot
Paste an image from the clipboard or drop a file onto the page. The editor asks once, showing the file, its size, the branch and the folder, then uploads it to assets/images/ in the repository and puts it where you pasted it. PNG, JPEG, GIF, WebP, BMP and SVG files up to 5 MB are accepted. The image is a file in your repository like any other, versioned with the page that uses it.
The file stays yours
A visual editor is usually where clean Markdown goes to die: open a file, change one word, and the diff shows two hundred reformatted lines. We built this one around the opposite rule.
- A page you open and do not edit is written back byte for byte.
- An edit changes only the lines of the block you edited. Fix a typo in one paragraph and the pull request shows one line.
- What the editor does not know, it leaves alone. A component with an attribute the editor has no field for keeps that attribute as written. Markup it cannot show as a block appears as source, which you can edit as text right there.
- There is one parser. The editor reads Markdown with the same parser that renders the published page, so what you see in the editor is what readers get.
If a page cannot be shown visually, because it is very large or its Markdown does not parse, the editor says so and opens it in Code. Nothing is guessed.
This is what lets a visual editor and Git work together. Writers who never look at Markdown and developers who review every line can work on the same file, through the same pull requests, and the history stays readable.
Where it fits
Editing is still Git underneath. Your changes are drafts until you commit, you can edit several files and commit once, on the current branch or a new one, and a pull request shows exactly what changed. When the page is merged, a published version that follows the branch shows it to readers.
The visual editor is live for every Markdown file in a repository. Open one, click the pencil and press /.